English
 Russian
 Español
 Français
 Deutsch
 हिन्दी
 සිංහල
සිංහල 中文
中文 日本語
日本語
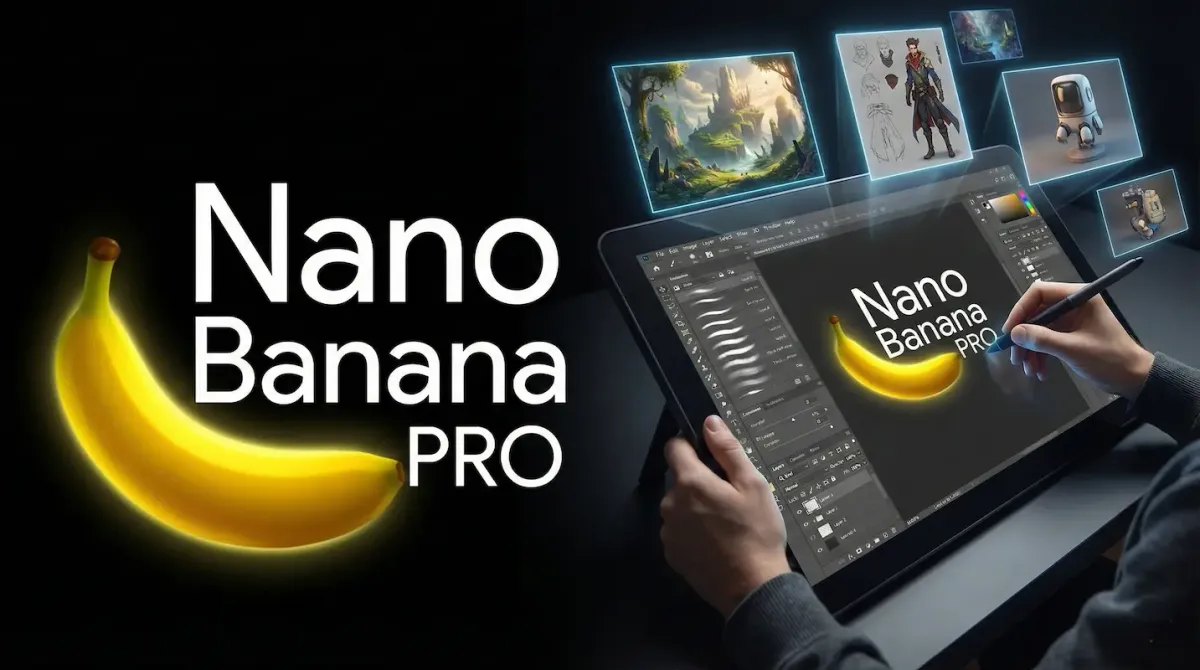
On November 20, 2025, Google released its most powerful image generation tool ever. They call it Gemini 3 Pro Image, but the internet (and Google's own engineers) have affectionately named it "Nano Banana Pro."
Unlike older AI tools where you just type "a cat on a bike" and hope for the best, Nano Banana Pro is a professional engine. It has "reasoning" capabilities, meaning it thinks before it draws. If you use it like an old chatbot, you will get average results. But if you use it correctly, you can create studio-quality art, perfect logos, and scientific diagrams.
In this guide, we will teach you exactly how to use Nano Banana Pro correctly to unlock its full power.
Step 1: Accessing the Right Model
Many users make a mistake right at the start: they use the standard Gemini model instead of the Pro Image model.
How to find it:
- Go to gemini.google.com or open the Gemini App.
- Look for the model selector at the top left.
- Crucial Step: You must select "Gemini 3 (Thinking)" or "Gemini Advanced." The standard "Flash" model still uses the older, lower-quality image generator.
- Once selected, simply type "Create an image..." to activate the Nano Banana Pro engine.
Step 2: Mastering the "Thinking" Prompt
The biggest change in Nano Banana Pro is the "Deep Think" process.
In the past, you had to write 500-word prompts describing every shadow and pixel. Now, you should write Goal-Oriented Prompts.
- The Wrong Way (Old Style):
"Create an image of a coffee cup, 4k, realistic, steam rising, brown table, cinematic lighting, bokeh effect..." - The Correct Way (Nano Banana Style):
"Create a commercial product shot for a luxury coffee brand. The vibe should be cozy and expensive. Use lighting that highlights the steam to show freshness."
Why this works: The AI reads your goal ("commercial," "luxury") and "thinks" about what lighting matches that goal. It acts like a professional photographer, setting up the scene for you.
Step 3: Perfect Text Rendering (Finally!)
For years, AI has been terrible at spelling. Nano Banana Pro fixes this with a new Text Encoder. You can now create logos, posters, and menus with perfect spelling.
How to do it correctly:
- Use Quotation Marks: Always put the text you want inside double quotes.
- Specify the Font Style: Tell the AI how the text should look.
Example Prompt:
Design a neon sign for a cyberpunk bar. The sign should explicitly say "OPEN 24/7" in glowing pink letters. The font should be futuristic and slightly distressed.
Pro Tip: If the text is small, ask for a "Macro Shot" or "Close-up" to ensure the AI focuses its pixels on the letters.
Step 4: Using "Reference Images" (The 14-Slot System)
This is the most powerful feature for professionals. You can now upload up to 14 reference images to guide the AI. This is not just for copying; it is for "Style Transfer" and "Character Consistency."
How to use it:
- Click the "+" (Plus) icon in the chat bar.
- Upload your images.
- Assign Roles: You must tell the AI what each image is for.
Example Workflow:
- Upload Image A (A photo of your face).
- Upload Image B (A cartoon style).
- Prompt: "Use Image A as the character reference and Image B as the art style. Draw the character from Image A fighting a dragon in the style of Image B."
This allows you to create comic books or storyboards where the main character looks exactly the same in every panel—something that was impossible before.
Step 5: Advanced Camera & Lighting Controls
Nano Banana Pro understands photography terms. You don't need to describe the visual; you can describe the camera lens.
Try adding these technical keywords to your prompts to instantly change the look:
- "Dutch Angle": Tilts the camera to create tension or drama (great for action scenes).
- "Macro Lens (100mm)": For extreme close-ups of insects, jewelry, or food textures.
- "Wide Angle (16mm)": For massive landscapes or showing the interior of a small room.
- "Golden Hour": The classic warm sunlight just before sunset.
- "Blue Hour": The moody, cold light just after sunset (great for cityscapes).
Step 6: Editing with "In-Painting"
Did the AI generate a perfect image, but the hand looks weird? Do not generate a new image. Use the Editor.
- Hover over the generated image.
- Click the "Edit"(Paintbrush) icon.
- Select the area: Use the brush to paint over only the bad part (e.g., the hand).
- Type the fix: In the box, type "Fix the hand, make it holding a sword.”
This keeps 90% of your image exactly the same and only changes the pixels you selected. This saves you hours of re-rolling prompts.
Conclusion
Google’s Nano Banana Pro is more than just a funny name. It is a tool that rewards clear thinking.
If you stop treating it like a slot machine and start treating it like a creative partner—giving it reference photos, clear goals, and specific camera directions—you will get results that look like they were made by a human expert.
Go open Gemini and try a “Thinking Prompt” today. You will be surprised by how much it understands.
Source - blog.google, tomsguide.com
Frequently Asked Questions